Showing posts with label Experiments. Show all posts

Thursday, April 21, 2011

Backyard Owl

There is an owl that visits us every once in a while.  This is the first time I’ve tried to photograph it though.  Unfortunately, I was not ready for it.  Fortunately, I learned a lot about the shot I want and will be better prepared next time.

The first hurdle was lighting, I ran into the problem of not wanting to use my flash.  I figured I would scare it off if I did.  So, I was left to handholding long exposures at first.  Too blurry!  Solution A, I got out my tripod. But I soon found that the owl didn’t want to hold still for long exposures even if my camera was still.  Solution B, a flashlight didn’t scare it off, but lighting up the power lines along with the owl didn’t make for a great shot.  Alternatives: Using a flashlight might produce a good looking shot if I’m prepared with my longer lens and can get close-up enough to cut the power lines out of the picture.  I could also crop it, but the low light brings out the noise more on a crop.

The second hurdle was focusing in such low light.  It was easier when the owl was lit up with a flashlight, but without it, I was guessing and trying to manual focus.  Next time I’ll try my 50mm f/1.4 lens and see if it able to focus better.

The best picture I ended up is one that I want to improve on next time.

_MG_6245Canon EOS 7D w/ EF-S 17-55mm f/2.8 IS USM
ISO 250, 145mm, f/2.8, 1.0 sec

I still like the shot, but the 1.0 second exposure left the owl’s edges a little blurry.  I think it would have been a great shot if the moon was sharp as well as the owl.  The only way that would ever happen though is to have a very small aperture and a very still owl for an even longer exposure.  Or maybe I’ll take an additional photo with the moon in in focus and blend the two shots together to make one photo with both the owl and the moon in focus.  That sounds like an easier plan to me versus relying on the owl to sit still for 20 or 30 seconds.

Tuesday, March 29, 2011

Picturing the Temple at 60 MPH

Here is a picture of the Gila Valley temple spire that I took on our way back from Texas.  I’ve included the exposure info below it.  It came out sharp even when I took it from the passenger seat of the RV while going 60 MPH down the highway.

_MG_5085Canon 7D with my EF 70-200mm f/2.8L IS II USM
1/2000 sec at f/2.8 and ISO 100

Saturday, March 19, 2011

Wednesday, March 16, 2011

Disneyland Lights

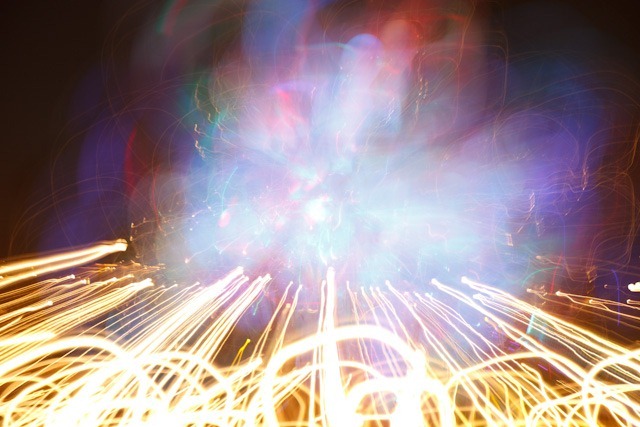
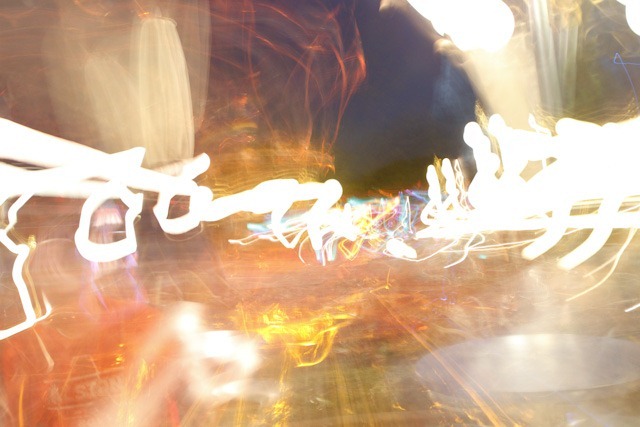
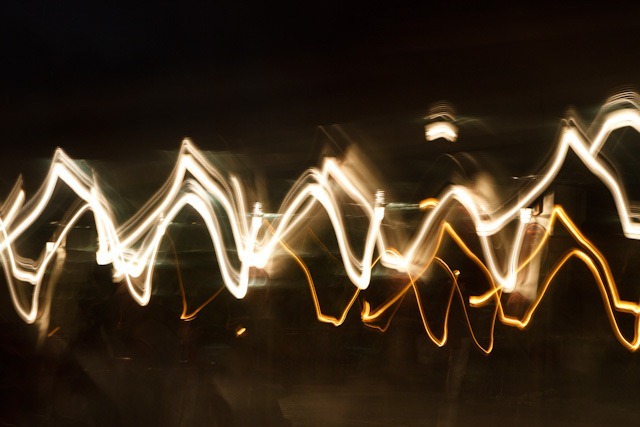
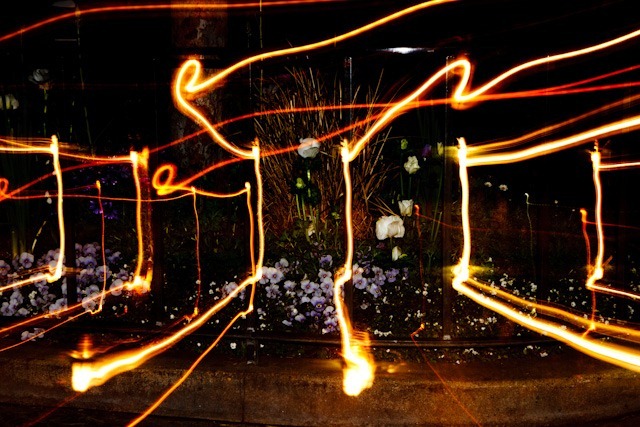
Here are some other abstract type, long exposure  pictures I played around with at Disneyland.  I’ve given them titles.

2011 Alstons at Disneyland-514Dumbo’s Wings

2011 Alstons at Disneyland-515Pulse of the Matterhorn

2011 Alstons at Disneyland-517Monorail

2011 Alstons at Disneyland-519Music of the Ride

For this picture I used a 5 second exposure with a 2nd curtain sync flash  so that the flash went off at the end of the shot.

Tuesday, March 15, 2011

Disneyland–Abstract Carousel

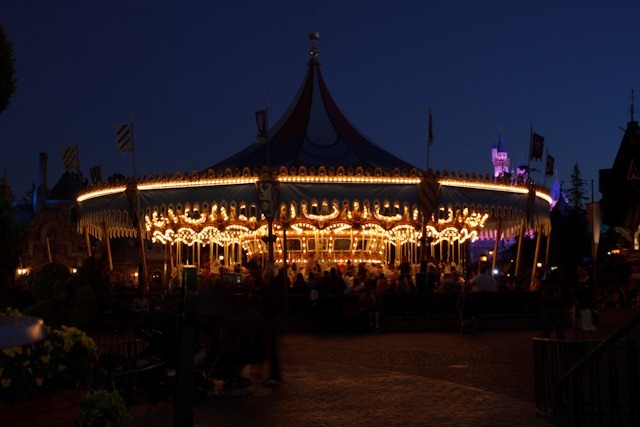
While everyone went on the Casey Jr. Circus Ride, I sat at a table and played around with long exposures and zoom blurs.

2011 Alstons at Disneyland-499The regular shot

2011 Alstons at Disneyland-500A two second shot with the camera sitting on the table and the carousel in motion

2011 Alstons at Disneyland-502A two second shot with zoom blur

2011 Alstons at Disneyland-504The same two second zoom blur shot, but I rotated the camera around the lens

Saturday, December 4, 2010

Stockings

On top of the ornaments and nightly Christmas story readings, Christi has made stockings for each of us.  They are just the right size except that every year we seem to think we need more than what will fit in there.  I remember using my own socks as a kid.  We have nine children in my family and Santa usually just dropped off all the candy in one of those large silver mixing bowls.  I’m sure he just didn’t have time to put candy into each stocking… or was worried about what had been in my socks.  Memories can be so great!  That’s why I’m glad my wife takes the time to build good memories with our kids.

Playing around with Lightroom’s print layout tools.

Story Time

Last Year we had Lindsey staying with us at Christmas time.  Since she didn’t have a stocking she got this one.  Minus the Josh.

_MG_1457

I’m sorry to say that it did not get completely filled either.  With Lindsey up in Washington now, we should send it to her full of sunshine from Sunnyville (The name our kids gave our homestead – I should post the song some time).

Thursday, December 2, 2010

Our Smorgasbord Christmas Tree

We put up our Christmas tree on Monday night for Family Home Evening.  Every year we turn on the Knudsen Brothers and hang our ornaments to Rockin’ around the Christmas tree.  Then we turn on the Christmas lights, off with the room lights, and sing a carol or two followed by a Christmas story.  I have the best wife!  She’s made it a tradition to collect short Christmas stories.  Once the tree is up, she reads a story to the kids every night until Christmas.  She’s great at keeping traditions in our family.  Even if I complain about them, deep down I really like them (including the time to make potato rolls every Thanksgiving).

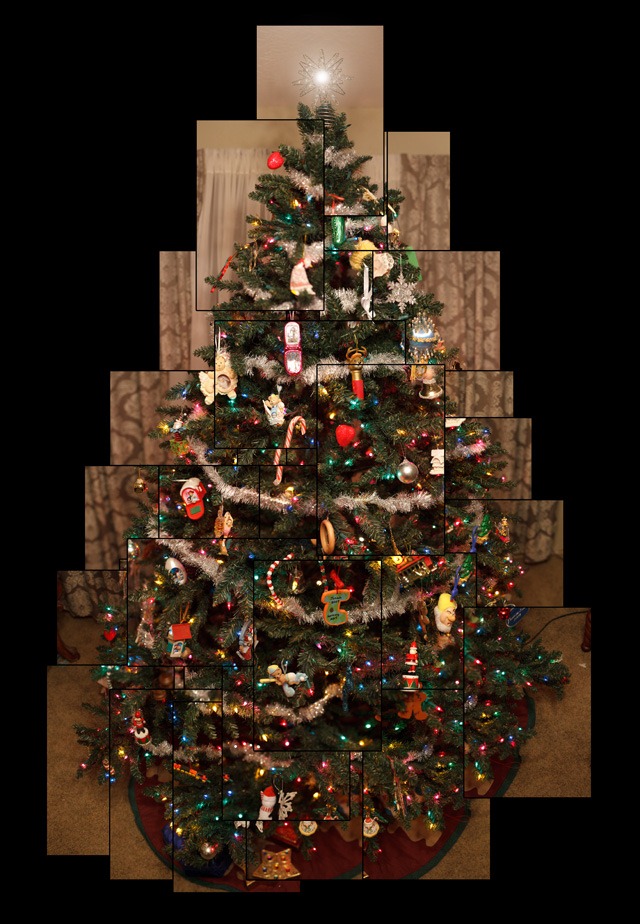
What would Christmas photography be without a little experiment.  I took 34 pictures below, applied a small border to each one, and overlapped them onto one canvas.  Christmas is the most wonderful time of the year!  I’ll post on the ornaments next time.

Christmas Tree

Tuesday, November 30, 2010

The Zoom Blur

Here is another technique I tried out while out hunting.  It’s the Zoom Blur.  Basically, zooming in our out during an exposure that’s long enough to let you capture the motion.  I used a tripod for mine, but you can do it free hand or even use your own side to side, up and down, rotate, zoom in, zoom out, or any combination of movements during an exposure to make some cool pictures.  I liked the pictures I had seen of trees with this zoom blur because it makes them look… Aaaaaaah…  That’s a full chorus of angels Ah-ing.  I tried zooming in, zooming out,with the sun behind the tree, beside the tree, etc.  Here are my favorites from this experiment.

_MG_1217

The more blurred or closer I got, the more abstract it became.

_MG_1189

This last one made me think of a spider web since the bare branches just continued to multiply and weave together during the zoom blur.

_MG_1202

Monday, November 29, 2010

Pictures from Thanksgiving

I’m kicking myself for not breaking out my camera during the Thanksgiving festivities.  I still feel silly toting around this huge camera and trying to look like I know what I’m doing with it… especially at family functions where I should be taking snapshots… not minutes to set up a shot.  I’m going to have to keep my pocket camera handy in the future so that I can whip it out and still capture the moments.  I really should have taken some pictures of all the food too.  I think we counted 26 pies at the Alston feast.

Anyways, here are a couple of my other favorites from our Thanksgiving trip.

_MG_1388[3]

_MG_1360-Edit[12]

For these photos, I applied a new preset (Wedding Fantasy) I found for over at lightroomkillertips.com.  This last picture of the saguaro skeleton was a mixture of HDR (high contrast surrealistic filter in photoshop), pulling the sky from of one of the darker exposure, and apply the wedding fantasy preset above in lightroom.

Friday, November 26, 2010

Astrophotography

Thanksgiving with my wife's family was great.  It always help to remind me of life's priorities.  Today we get our second Thanksgiving with my family.  It's been a great arrangement for us that my family always does Thanksgiving the day after.  Sometimes we change it up and do Mexican food, or Italian.  I'm very thankful for family, friends, and photography.

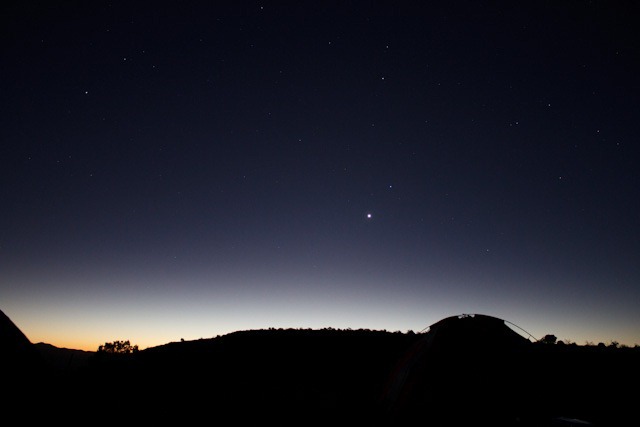
While hunting with my brothers I did some astrophotography.  Something about all those stars helps to put this world in perspective.  I love it when you can see the milky way rather than having to pick out the  ten lonely stars in the bright city sky.  Ideally, I'd have a moving tripod head that would track the stars, but I'm not there yet.  So, I do what I do... try to keep the exposure short so that the stars don't turn into streaks.  Using a wide angle also means less motion visible since the distances of movement become smaller.  It doesn't take very long at all for the stars to turn into streaks.  Here is a picture of the constellation Orion.  At thirteen seconds and with my 50mm lens it is already starting to streak a bit.  The JPEG compression here doesn't do it justice, but you can see a satellite's orange streak across the picture too towards the top middle.  Or at least you can in the original.

_MG_1013ISO200  50mm  f/1.8  13s

Here are a couple with the sun just getting ready to rise.  I was trying to shorten up the shutter speed, but you can see the noise pour right in as the ISO goes higher and higher.

_MG_1021ISO3200  50mm  f/1.8  2.5s

_MG_1027ISO800  18mm  f/3.5  4s

Now that I'm going through these photos again, I really should have done some experimentation with the exposure to see if the stars could look sharper rather than just like blown out lights.  Which they end up looking like if you follow the camera's meter like I did.  Another experiment for next time I'm in the great outdoors.

Wednesday, November 24, 2010

High Dynamic Range Photography

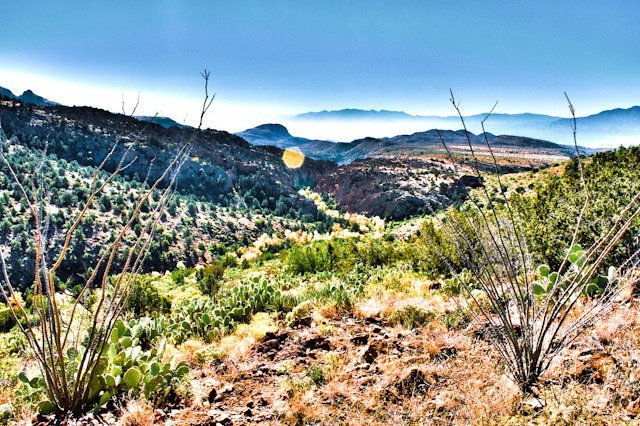
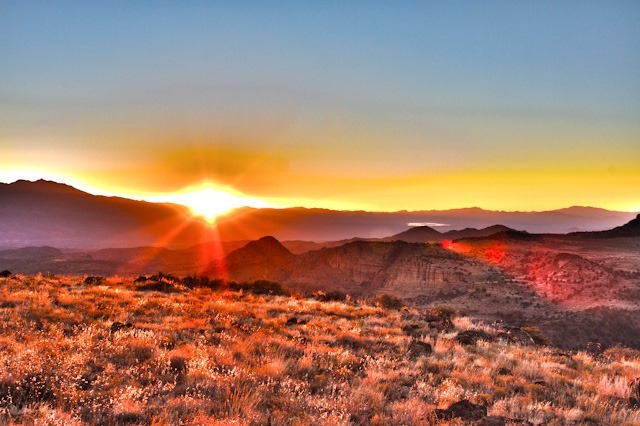
I was able to practice more HDR photography on the Elk hunt last week.  HDR photography is an effort to see into all the highlights, shadows, and mid-tones at the same time.  For these photos I took three separate pictures.  One exposed “correctly”, one at +2 EV (plus to f-stops), and one at –2 EV (minus 2 f-stops).  I only changed the shutter speed between the exposure in order to keep the same depth of field (DOF).  Photoshop has a merging feature that takes all 3 photos and tries to interpolate which areas of each photo to keep so that you get a higher dynamic range of details in the highlights, shadows, and mid-tones all merged into one photo.  Then I tried out all sorts of presets and filters to change the look even more.  I really liked the surrealistic look on these landscape images.

_MG_1135-Edit

_MG_1104-Edit

_MG_1264-Edit

_MG_0953-Edit

_MG_1284-Edit

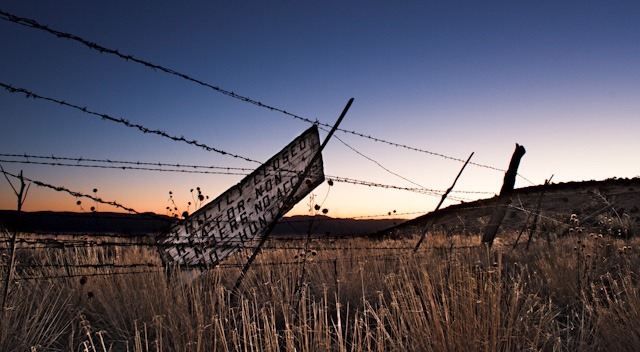
This last one has a similar idea of extending the dynamic range, but I did it by overlaid one photo on top of another and erased the areas in the shadows to show the portions the grass and sign on the lower layer.  I had processed this the same way I did for the images above, but I didn’t like the way the sky turned out.  So, I used the sky I liked from one photo and the ground and fence I liked from another.

_MG_1041-Edit-Edit

By the way, we camped right next to the reservation line.  This sign says, “Strictly Closed Area For Non-Members  - No Access - No Hunting.”  In case you tried to read it.  One guy in our group saw a herd of about forty Elk just on the “member side.”  Unfortunately, they never decided to come over to our side of the fence in this area while we were there.

As I’ve studied HDR photography, I’ve heard a lot about tone mapping.  I think I’ll dig into that deeper next time I do some HDR photos.  I’ve also heard a lot of good things about Photomatix software for processing the HDR images.  I’ll have to give that a try too.

Tuesday, November 23, 2010

Painting With Light

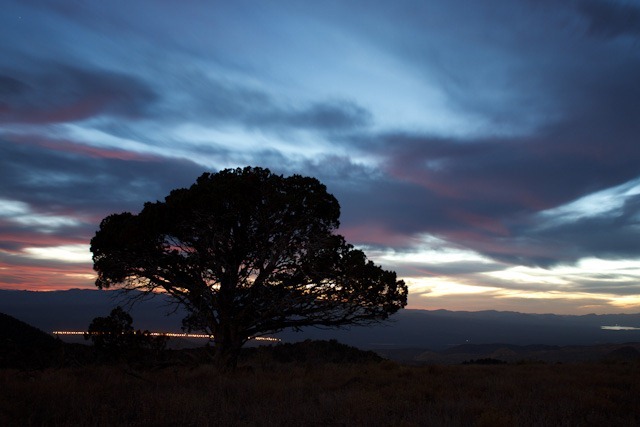
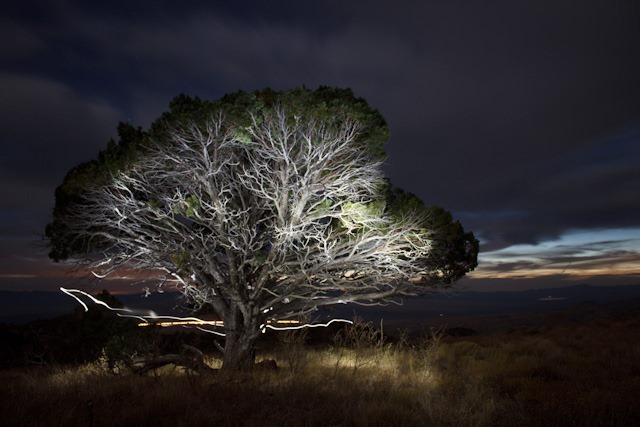
The best experiment I did while out hunting was “Painting with Light.”  Basically, you use a light source such as a flashlight, laser, glow stick, fire, etc. in the dark, you set your camera to a long exposure, and with the shutter open you paint light onto your subject.  That’s the basic idea anyways.  The more light you put on a particular part of the subject, the more lit up it will be in the picture.  In my case, I was using a flashlight on this cool lookin’ tree next to our camp.  I was using 30 second exposures at ISO 100 and f/3.5.  Here is my subject:
_MG_1144
I thought a painted tree with a sunset in the back would look cool, but I made the mistake of just sticking to the cameras standard 30 second exposure.  I should have used the bulb exposure mode and cranked down the aperture to let less light in.  The bulb mode allows you to leave the shutter open as long as you want.  Then I could have had 1-2 minutes to paint the tree more thoroughly.  The moon was nearly full that night.  I want to try this again in the complete dark which would allow longer exposure more easily.  Then I wouldn’t have to worry as much about overexposing the other areas of the pictures.
Here are some of my favorites.  I took these ones while standing behind the camera and shining my flashlight at different parts of the tree for different amounts of time.  The first one was taken at f/5.6 before I opened it up to f/3.5.
_MG_1153
_MG_1156
_MG_1158
For these I also moved closer to the tree since the flashlight was pretty weak from too far away.  I also mounted the camera lower to try and get the top of the tree above the horizon line.  Seeing how the light was brighter when closer, I got the idea to run around under the tree and shine my flashlight at a closer range to help make it brighter.  I got my favorite pic when I did that.
_MG_1160
Isn’t it cool!  These are all straight out of the camera without any editing.  The squiggly line is my headlamp while I’m running around.  The straight lights in the back are the street lights in Bylas. 
Some other lessons learned are that flashlights have a lot splash.  I found myself using my hand around the tip of the flashlight to try and narrow the beam down and more precisely target the areas I wanted.  I also should have used the Bulb mode for longer exposures and would like to try it all again when there is no moon.  Different colored lights or a mixture of colors and light sizes would be fun to play with too.  Last of all, tell those around you what you are doing.  I could hear the guys at the camp (100 ft away) wondering if I had fallen off my rocker.  It must looked like I was trying to find something in the tree.  Fun! Fun! Fun!